How to wire LED Strips
- There are no more items in your cart
- Shipping
- Total €0.00

How do I change fluorescent tube for LED?
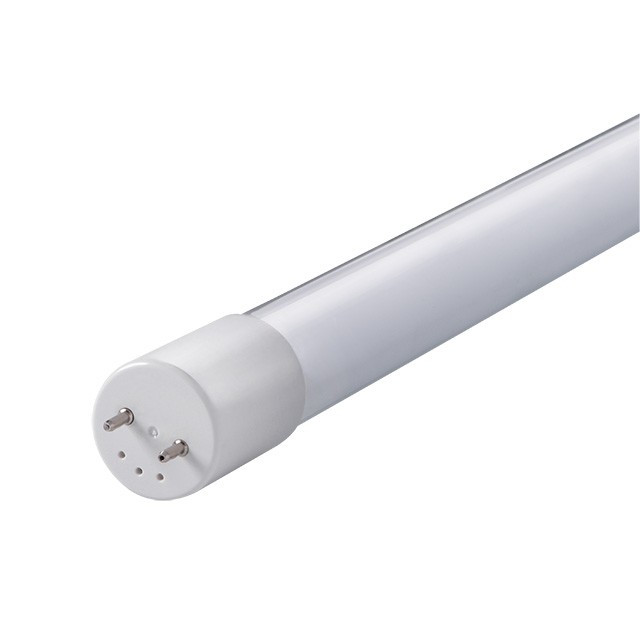
Replacing fluorescent tubes with LED tubes is a common and energy-efficient lighting upgrade that offers several benefits. LED tubes consume less energy, have a longer lifespan, and produce better light quality compared to traditional fluorescent tubes. Here's a step-by-step guide on how to replace fluorescent tubes with LED tubes:
Materials Needed:
- LED replacement tubes (compatible with your existing fixture)
- Screwdriver or pliers (if needed)
- Ladder or step stool (if the fixture is mounted overhead)
- Safety goggles (recommended for safety)

Steps:
Turn Off Power: Before you begin, turn off power to the lighting circuit from the circuit breaker or fuse box. Use a voltage tester to confirm that the power is off.
Remove Fluorescent Tubes:
- For fixtures with a plastic cover or diffuser, gently remove it by releasing any clips or screws that hold it in place.
- Locate the fluorescent tubes and their pins at each end. Rotate the tubes slightly to release them from the sockets, and then carefully slide the tubes out.
Check Existing Ballast:
- Fluorescent fixtures usually have a ballast that regulates the current to the tubes. Depending on the LED tubes you choose, you might need to bypass or replace the ballast.
- Some LED tubes are designed to work with existing ballasts (plug-and-play), while others require direct wiring (ballast bypass).
Install LED Tubes:
- If your LED tubes are compatible with existing ballasts (plug-and-play):
- Simply insert the LED tubes into the sockets where the fluorescent tubes were removed. Ensure they are securely seated.
- If your LED tubes require ballast bypass (direct wiring):
- Follow the manufacturer's instructions for wiring the LED tubes directly to the fixture's wiring.
- Typically, this involves connecting the live (hot) wire to one end of the LED tube and the neutral wire to the other end. Some LED tubes have marked ends for wiring.
- If your LED tubes are compatible with existing ballasts (plug-and-play):
Secure Wiring and Test:
- Secure any wiring connections you've made, making sure they are insulated and well-protected.
- Turn the power back on at the circuit breaker or fuse box.
- Turn on the light switch and check that the LED tubes are functioning properly.
Replace Cover: If your fixture had a cover or diffuser, carefully reattach it by securing any clips or screws.
By following these steps, you can replace fluorescent tubes with LED tubes and enjoy the benefits of improved energy efficiency, longer lifespan, and better lighting quality. Always refer to the manufacturer's instructions and safety guidelines when installing electrical components. If you're not comfortable with electrical work, consider hiring a professional electrician for the installation.



Leave a comment